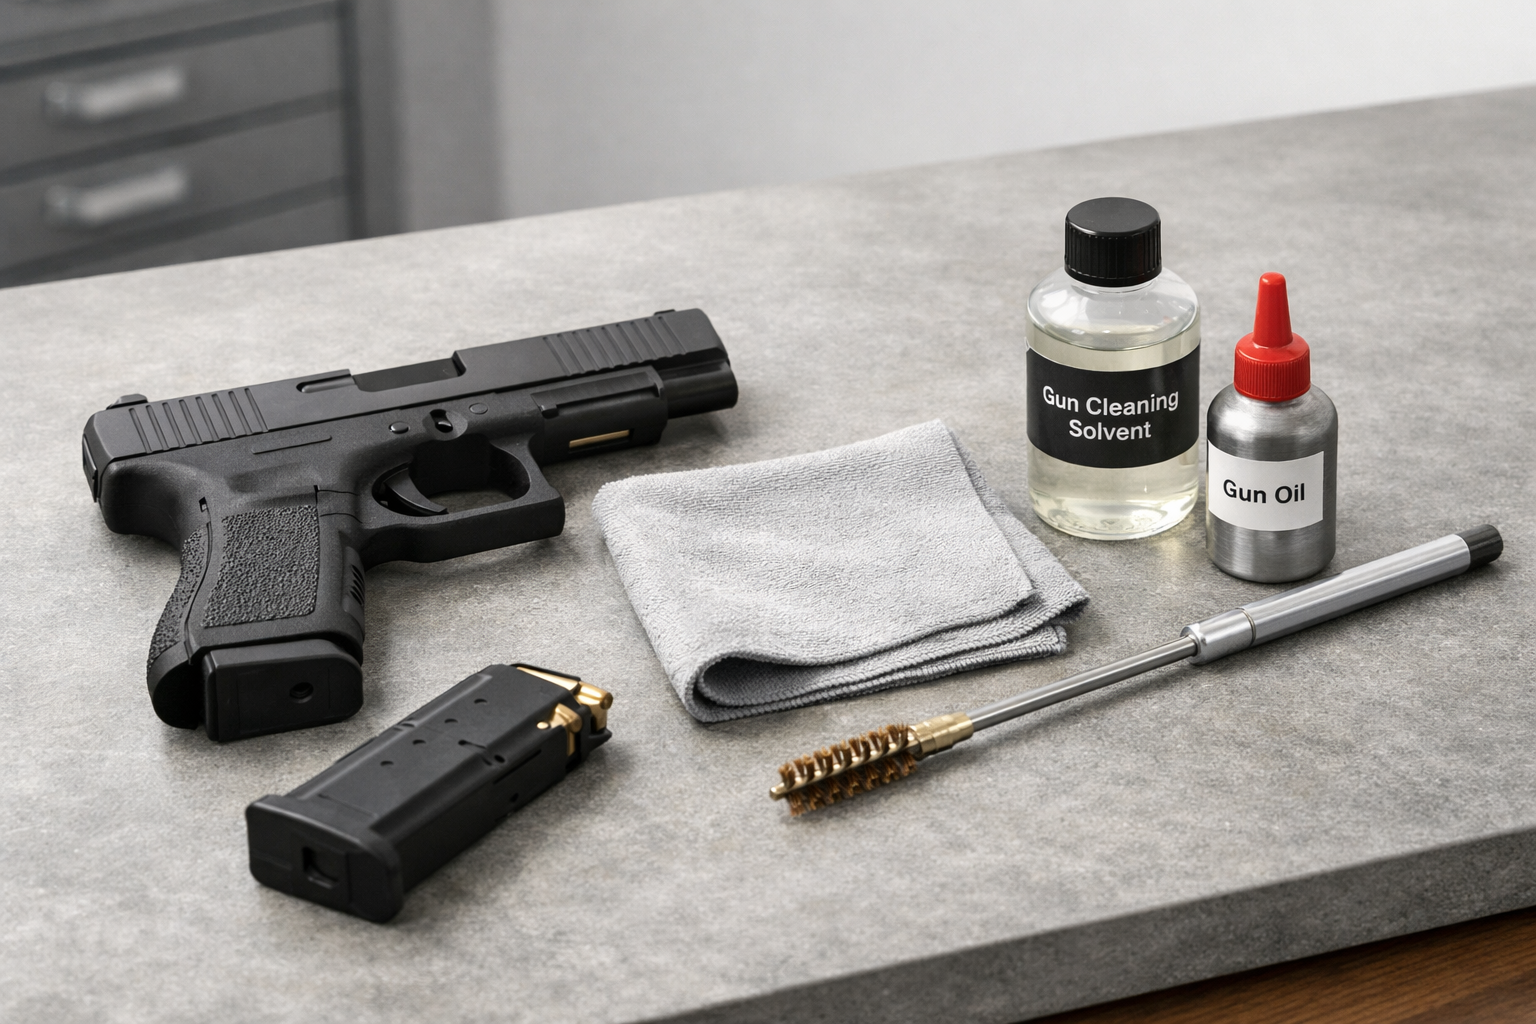

Cleaning your firearm after a range trip is not just about keeping it looking good. Routine maintenance helps prevent corrosion, removes fouling and residue, and gives you a chance to spot wear before it turns into a reliability problem. Whether you came home from a practice session with a pistol, a rifle, or a shotgun, the same basic process applies: make it safe, clean it correctly, inspect key parts, and lubricate it lightly.
That habit matters for every owner, including people who recently completed a legal firearm transfer through a licensed FFL transfer, handgun transfers, rifle transfers, shotgun transfers, or an online firearm transfer handled by a local FFL dealer. At RPG Tactical, we often remind Southern Arizona firearms owners that good maintenance is part of responsible ownership, just like safe storage and compliance with firearm transfer rules.
Why post-range cleaning matters
Every shot leaves behind carbon, powder residue, and microscopic metal deposits. Over time, that buildup can affect accuracy, increase friction, and create reliability issues. Moisture from your hands, the environment, or cleaning products can also lead to rust if the firearm is put away dirty or damp.
A proper post-range cleaning routine does more than remove grime. It also gives you a regular opportunity to check springs, screws, magazines, sights, and other parts for damage or loosening. Think of it as a quick health check for your firearm.
Safety first: Never begin cleaning until you have personally confirmed the firearm is unloaded. Remove the magazine, open the action, inspect the chamber, and verify there is no ammunition present at the cleaning area.
Step 1: Make the firearm completely safe
Before anything else, clear the firearm using the manufacturer’s recommended procedure. Do not rely on memory alone, especially if you own multiple platforms. A safe unloading routine should be deliberate and repetitive.
- Remove the magazine if the firearm uses one.
- Lock the action open when possible.
- Visually and physically inspect the chamber.
- Check the magazine well, feed area, and any secondary chambers or cylinders.
- Set all ammunition far away from the cleaning area.
If you are cleaning a revolver, open the cylinder and confirm each chamber is empty. If you are cleaning a shotgun or rifle, make sure the chamber and magazine tube are clear according to the design. Safety checks should never be rushed.
Step 2: Gather the right cleaning supplies
You do not need a giant bench full of tools to do a solid cleaning job. A small, reliable kit is usually enough for routine maintenance after the range.
- A cleaning mat or protected work surface
- Cleaning rod, pull-through cable, or bore snake
- Correct-size bore brush and patches
- Quality solvent or cleaner
- Light lubricant or gun oil
- Nylon brush or soft utility brush
- Cotton swabs, microfiber cloths, or lint-free patches
- Small picks or detail tools for tight spaces
- Eye protection and gloves if you prefer them
It is also smart to keep your firearm’s owner manual nearby. Field stripping methods vary by model, and forcing a part in the wrong direction is one of the easiest ways to damage a firearm.
Step 3: Field strip according to the manual
For routine post-range cleaning, most owners only need to field strip the firearm rather than fully disassemble it. Field stripping usually means removing the slide, bolt, or other major components needed to access the barrel and action.
Follow the manual for your exact model. Some firearms are simple to break down. Others require a specific sequence, a tool, or a little practice. If something does not move easily, stop and confirm you are doing it correctly instead of applying more force.
This is especially important for new owners who recently completed firearm transfers through a licensed FFL transfer or gun transfer dealer. A new firearm may be unfamiliar, and first-time disassembly should always be done slowly and carefully.
Step 4: Clean the bore and chamber
The barrel is usually the first place to focus after a range trip. Start with a patch or bore snake to remove loose debris. Then apply a small amount of solvent to a brush or patch and work through the bore in the direction recommended by the manufacturer.
When possible, cleaning from the chamber end is preferred because it helps protect the muzzle crown, which can affect accuracy. If your setup requires cleaning from the muzzle end, use proper guidance and avoid dragging dirty rods across the crown.
- Run a solvent-wet patch through the bore.
- Use a correctly sized bore brush to loosen fouling.
- Let the solvent sit briefly if the product recommends it.
- Push clean patches through until they come out with minimal residue.
- Dry the bore if needed, then inspect it under good light.
Do not soak the barrel with cleaner. A little solvent goes a long way. Excess product can migrate where it is not needed and make a mess of the rest of the firearm.
Step 5: Clean the action and contact points
Carbon and residue build up where metal parts move against each other. That includes rails, bolt faces, locking surfaces, feed ramps, and other high-contact areas. Use a nylon brush, a patch, or a cotton swab to remove loose buildup.
Focus on the areas that actually affect function:
- Slide rails or bolt rails
- Bolt face and extractor area
- Feed ramp and chamber mouth
- Frame recesses where residue accumulates
- Magazines, if they are dirty or gritty
For handguns, a little residue around the slide, barrel hood, and breech face is normal after range use. For long gun transfers and rifle transfers, bolt and chamber cleaning is often the most important reliability step. For shotgun transfers and shotgun owners, the action and chamber should be kept clean, especially after heavier use.
Step 6: Inspect for wear, damage, or loose parts
Cleaning time is inspection time. As you wipe parts down, look for unusual wear patterns, chips, cracks, corrosion, or loose fasteners. This is one of the best reasons not to rush the job.
Pay attention to:
- Springs that appear weak or kinked
- Cracks in polymer frames or grips
- Loose screws on optics, mounts, or sights
- Damage to feed lips or magazine springs
- Peening, burrs, or unusual metal wear
- Rust or pitting that should be addressed early
If you notice something that does not look right, compare it to the owner’s manual or have a qualified gunsmith take a look. Catching wear early is much easier than waiting for a malfunction at the range.
Step 7: Lubricate correctly
One of the most common mistakes new owners make is using too much lubricant. Firearms generally perform best with a light, even application in the spots that need it. More oil is not better; the goal is proper friction control, not a dripping finish.
Apply lubricant sparingly to the manufacturer’s recommended points, such as:
- Slide rails or contact rails
- Bolt lugs or other locking surfaces
- Pivot points and hinges where appropriate
- Any area specifically called out in the manual
After applying, wipe away any visible excess. Too much oil can attract dirt, create sludge, and move into places where it does not belong. A light film is usually enough for routine use.
Step 8: Reassemble and perform a function check
Once the firearm is clean and lubricated, reassemble it carefully according to the manual. Do not force parts into place. If the firearm does not go back together smoothly, stop and recheck the sequence.
After reassembly, perform a basic function check with no ammunition present. This may include confirming the safety operates correctly, the action cycles properly, and controls feel normal. The exact check depends on the firearm, so follow the manufacturer’s instructions.
When the firearm passes a basic function check, wipe down the exterior one more time. A clean exterior helps prevent fingerprints, moisture, and storage grime from building up before the next range trip.
Common mistakes to avoid
Most routine cleaning problems come from trying to move too fast or using the wrong technique. Avoid these common errors:
- Cleaning with ammunition nearby — Keep live rounds completely off the work surface.
- Skipping the manual — Every model has its own disassembly and maintenance rules.
- Using the wrong brush or patch size — Incorrect tools can damage parts or clean poorly.
- Over-lubricating — Excess oil attracts dirt and can create reliability problems.
- Ignoring worn parts — Cleaning is the right time to catch damage early.
- Forcing disassembly — If something resists, recheck the process instead of applying more pressure.
- Leaving the firearm wet with solvent — Remove excess product before storage.
Another common mistake is assuming that every firearm needs a deep cleaning after every single trip. In reality, the best routine is the one that matches the firearm, your shooting volume, and the manufacturer’s recommendations. Some guns need more frequent attention than others, but every gun benefits from a consistent baseline routine.
Key takeaways
- Always verify the firearm is unloaded before cleaning.
- Use the correct tools, solvent, and lubricant for your specific model.
- Focus on the bore, chamber, action, and other high-contact points.
- Inspect for wear, loose parts, and corrosion every time you clean.
- Use only a light amount of lubricant and wipe away excess.
- Follow the owner’s manual so your cleaning routine stays safe and effective.
FAQ
How often should I clean my firearm after the range?
For most owners, a light cleaning after each range session is a good habit. If you shot only a small number of rounds, you may not need an extensive detail cleaning, but you should still inspect the firearm and remove fouling, moisture, and excess residue.
Can I use the same cleaning process for handguns, rifles, and shotguns?
The basic principles are the same, but the details vary by platform. Handgun transfers, rifle transfers, and shotgun transfers all lead to different designs, so always check the manual for the right disassembly and lubrication points.
Is it bad to use too much oil?
Yes. Over-oiling can attract dirt, create buildup, and sometimes work into areas where it is not needed. A light film of lubricant is usually enough for routine use unless the manufacturer specifies otherwise.
Do I need to fully strip the firearm every time I clean it?
No. For routine post-range care, field stripping is usually sufficient. Full disassembly is best left for advanced maintenance, serious troubleshooting, or a qualified gunsmith when needed.
What should I do if I notice rust or unusual wear?
Clean the affected area carefully, remove any moisture, and assess whether the part needs replacement or professional attention. Early signs of corrosion or damage are easier to correct than advanced wear.
Related Resources
- ATF Firearms Information — A useful official source for federal firearms guidance and general ownership information.
- Project ChildSafe Firearm Safety — Practical safety guidance for storage, handling, and responsible ownership habits.
- NSSF Safety Resources — Educational material covering firearm safety fundamentals and responsible use.
- SAAMI — Industry standards information that can help owners understand ammunition and firearm compatibility basics.